Don't Panic! A Step-by-Step Guide to Fixing Holes in Walls
Mastering Wall Repair: From Small Fixes to Large Patch-ups
Whether it's a mishap during a move, a doorknob punching too hard, or simply the remnants of old wall fixtures, finding a hole in your wall can seem daunting. But fear not—repairing holes in walls, whether small or large, is a manageable task that most homeowners can tackle with a little patience and the right tools. This comprehensive guide will walk you through the process of patching everything from a minor puncture to a significant gash in your drywall.
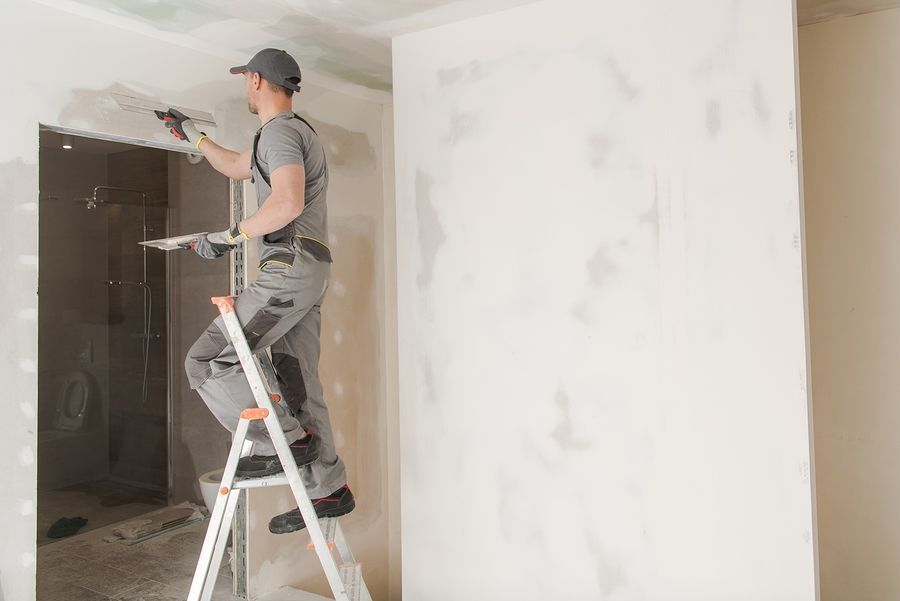
Understanding the Scope of Damage
First, assess the size and depth of the hole in your wall, as this will dictate the materials and methods you'll need to use. Broadly, holes can be categorized into three types:
- Small holes: Generally the size of a nail or screw, up to about a half-inch in diameter.
- Medium holes: Larger than a half-inch but smaller than six inches across.
- Large holes: Anything larger than six inches, which may require more extensive repair work.
Materials Needed
- Drywall patch or mesh tape
- Joint compound (also known as drywall compound)
- Putty knife
- Sandpaper (fine grit)
- Primer and paint
Step 1: Preparing the Area
Before you begin the repair, ensure the area around the hole in the wall is clean and free from any debris or loose edges. For small hole in wall repair, you can usually just brush off any dust and move to filling it in. However, for larger holes, you might need to cut away any damaged drywall to create a clean area for your patch.
Step 2: Fix Small Hole in Wall
For a small hole in wall, such as those left by nails or screws, the fix is straightforward:
- Fill the hole with a lightweight spackle using your putty knife. Press the spackle in and smooth it over so it's flush with the wall.
- Allow the spackle to dry fully, then lightly sand the area until smooth.
Step 3: Patching Medium to Large Holes
To fix large hole in wall or a medium-sized one, you'll need a slightly different approach:
- For a medium hole, you can use a self-adhesive drywall patch. Place the patch over the hole and press it firmly in place.
- For a larger hole, you may need to cut a piece of drywall to fit. Secure it with drywall screws to the surrounding studs, and then cover the seams with mesh tape.
- Apply a layer of joint compound over the patch, extending a few inches beyond its edges. Use your putty knife to smooth it out. Let it dry, then apply a second coat if necessary.
- Once dry, sand the area smooth.
Step 4: Finishing Touches
After the patched area is smooth and level with the rest of the wall, you'll need to prepare it for painting:
- Prime the repaired area to ensure an even finish.
- Paint over the primed area to match the rest of the wall. You might need multiple coats to get the right color match.
Tips for Specific Situations
- Patch hole in wall drywall: Ensure that the joint compound is applied in thin layers and feathered out to blend with the existing wall.
- Patch drywall hole in wall: Secure the drywall patch with adhesive mesh for added stability before applying the compound.
- Covering holes in walls: If the wall has multiple holes or if the surface is uneven, consider using a textured spray to get a uniform appearance after the patchwork.
- Patch up holes in wall: For a series of holes, like those from shelving or mounted hardware, follow the same steps but work systematically across each hole to maintain consistency.
Ensuring Durability: Reinforcing Your Repair
After you've managed the initial fix or patch, it's essential to consider the long-term durability of your repair. This is especially crucial if the hole in wall was due to an impact that might recur, such as near door handles or in high-traffic areas.
For High-Impact Areas:
- Reinforce the repair: After applying your initial patch and joint compound, add a layer of fiberglass mesh tape over the compound before it dries. This adds extra strength and helps prevent future cracks.
- Use a flexible compound: For areas that undergo slight movements or vibrations, using a flexible joint compound can help absorb impacts and reduce the likelihood of the repair cracking.
Cosmetic Considerations: Making Repairs Invisible
A successful repair job is one that makes the damage completely disappear. This can be a bit tricky, especially with textured walls or specific paint finishes.
Techniques for Invisible Repairs:
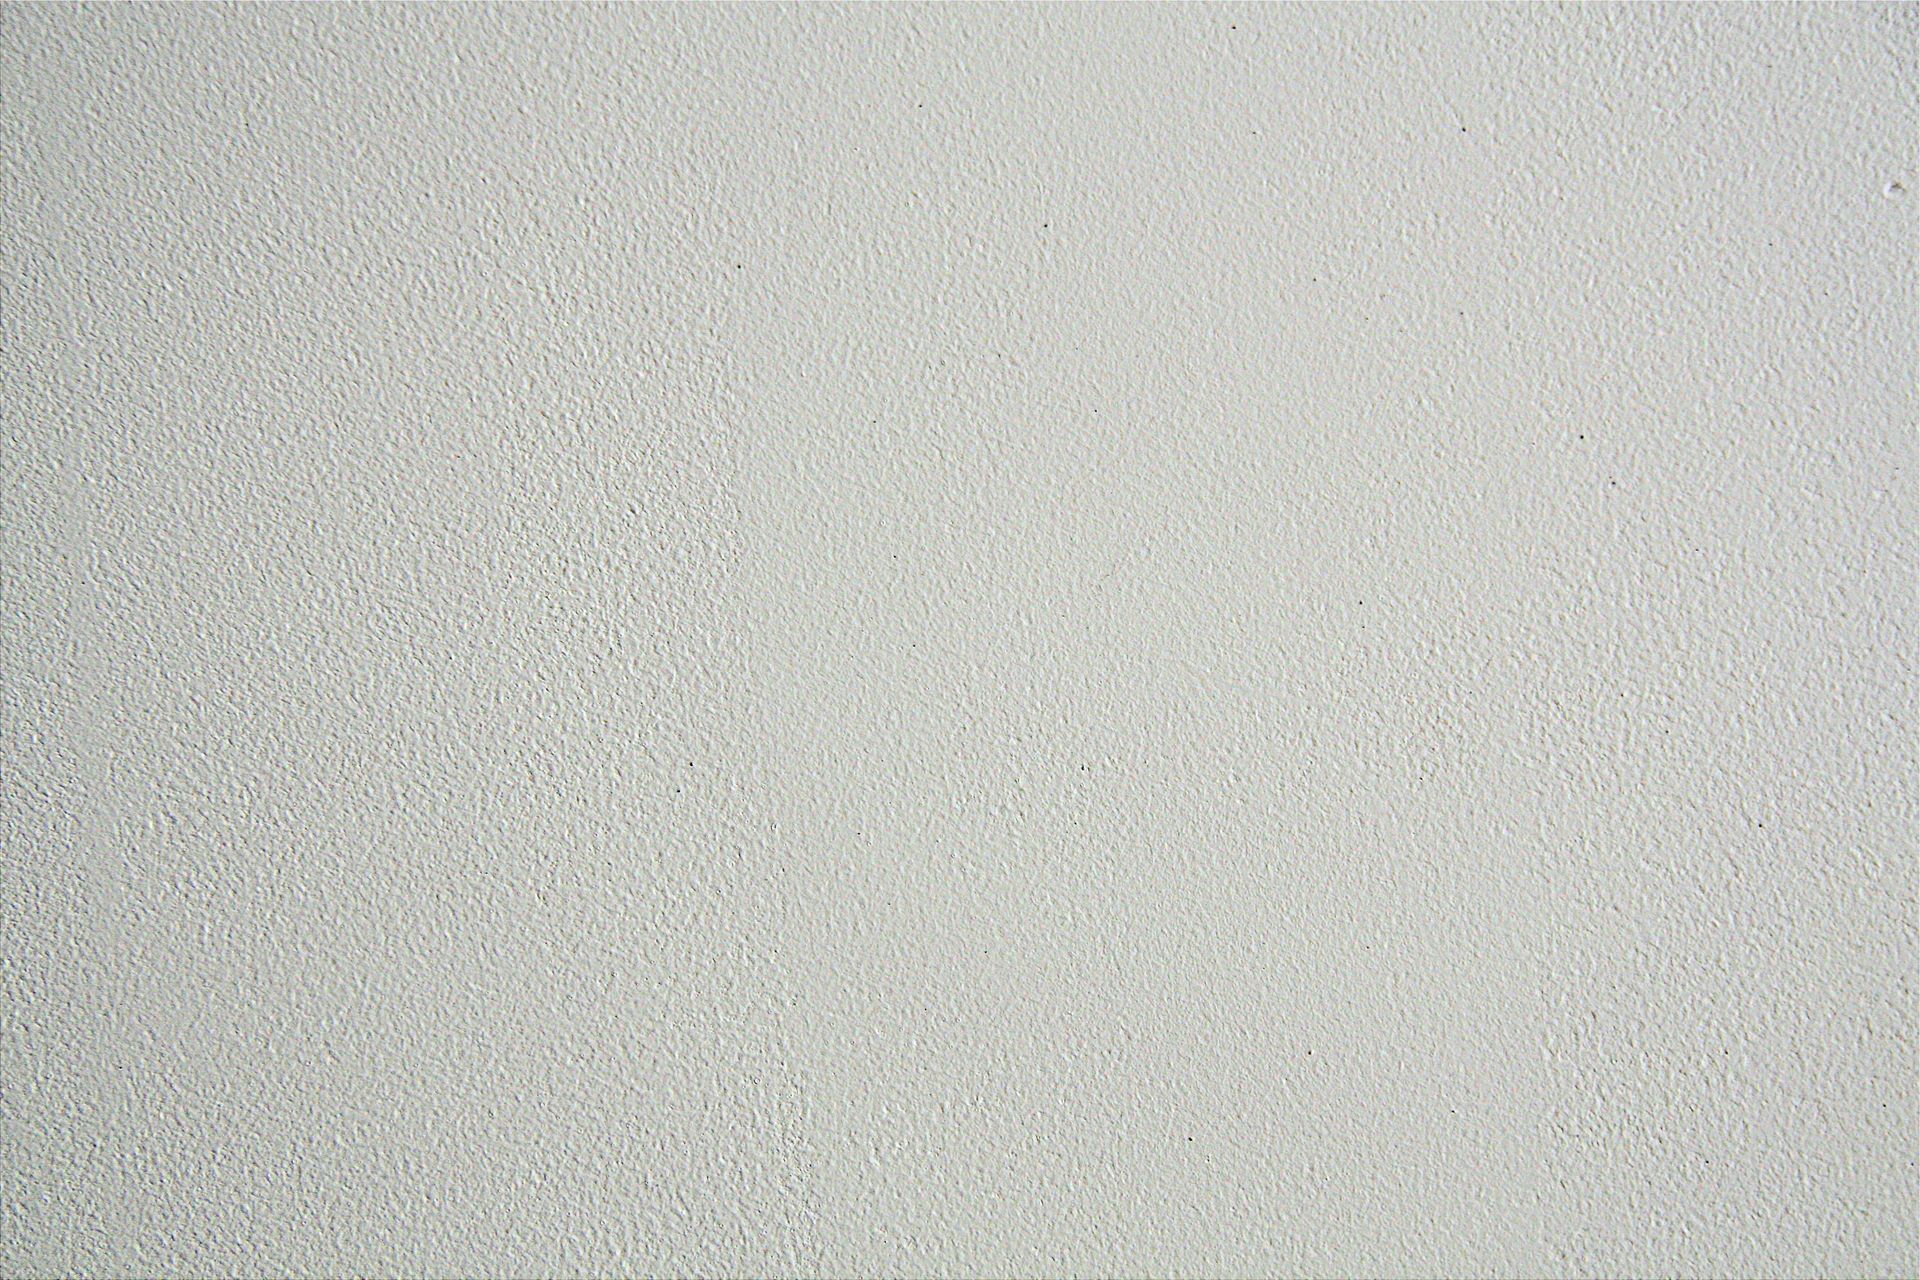
- Texture matching: After you patch drywall hole in wall and it's smooth and primed, you might need to recreate the wall’s texture. You can use a textured spray or manually apply texture with a sponge or brush, depending on what matches the rest of your wall.
- Color matching: Paint colors can fade over time, making it hard to match new paint to an old wall. If you can't find an exact match, consider painting an entire section of the wall, or even the whole wall, for a seamless look.
Advanced Fixes: Dealing with Unusual Wall Materials
Not all walls are made of drywall. Some might be plaster, wood paneling, or even concrete. These materials require slightly different approaches when it comes to repairs.
Repair Strategies for Different Materials:
- Plaster walls: For a hole in wall repair in plaster, use plaster of Paris or a plaster repair compound instead of joint compound. Plaster requires a different texture and drying time.
- Wood paneling: To fix hole in wall made of wood paneling, it’s best to replace the damaged section entirely if possible. If not, fill the hole with wood filler, sand it smooth, and stain or paint to match.
- Concrete walls: For holes in concrete walls, use a concrete patching compound, which is designed to adhere to stone and concrete surfaces.
Maintaining Your Walls Post-Repair
After you’ve completed the hole in wall repair, maintaining the integrity and appearance of your walls is key. Regularly check the repaired areas for any signs of wear or damage. Touch up paint as needed, and consider using protective elements like door stoppers or furniture pads to prevent future holes.
DIY vs. Professional Help
While many wall repairs can be DIY projects, larger or more complex damages might require professional attention. If you fix large hole in wall and it involves structural elements, or if you're not confident in your ability to make an invisible repair, it may be wise to hire a professional. They can ensure that the structural integrity of your home is maintained, and the aesthetic match is perfect.
Conclusion: Empowered and Prepared
With this comprehensive guide, you're now equipped to handle just about any hole in wall scenario. From quick fix small hole in wall tasks to more involved efforts to patch up holes in wall, your ability to tackle these challenges will keep your home looking its best. Remember, the key to effective wall repair lies in meticulous preparation,
precise execution, and appropriate finishing touches.


