A Step-by-Step Guide to Painting Doors and Windows Like a Pro
Step-by-Step Guide to Painting Doors and Windows Like a Pro
Painting doors and windows can dramatically transform the look and feel of your home. Whether you're freshening up the interior with a new color or enhancing the exterior for improved curb appeal, giving your doors and windows a fresh coat of paint is a cost-effective way to breathe new life into your living space. This comprehensive guide will walk you through the process of
painting doors and windows like a professional, ensuring a smooth and durable finish that enhances your home's overall aesthetic.

Step 1: Gather Your Materials
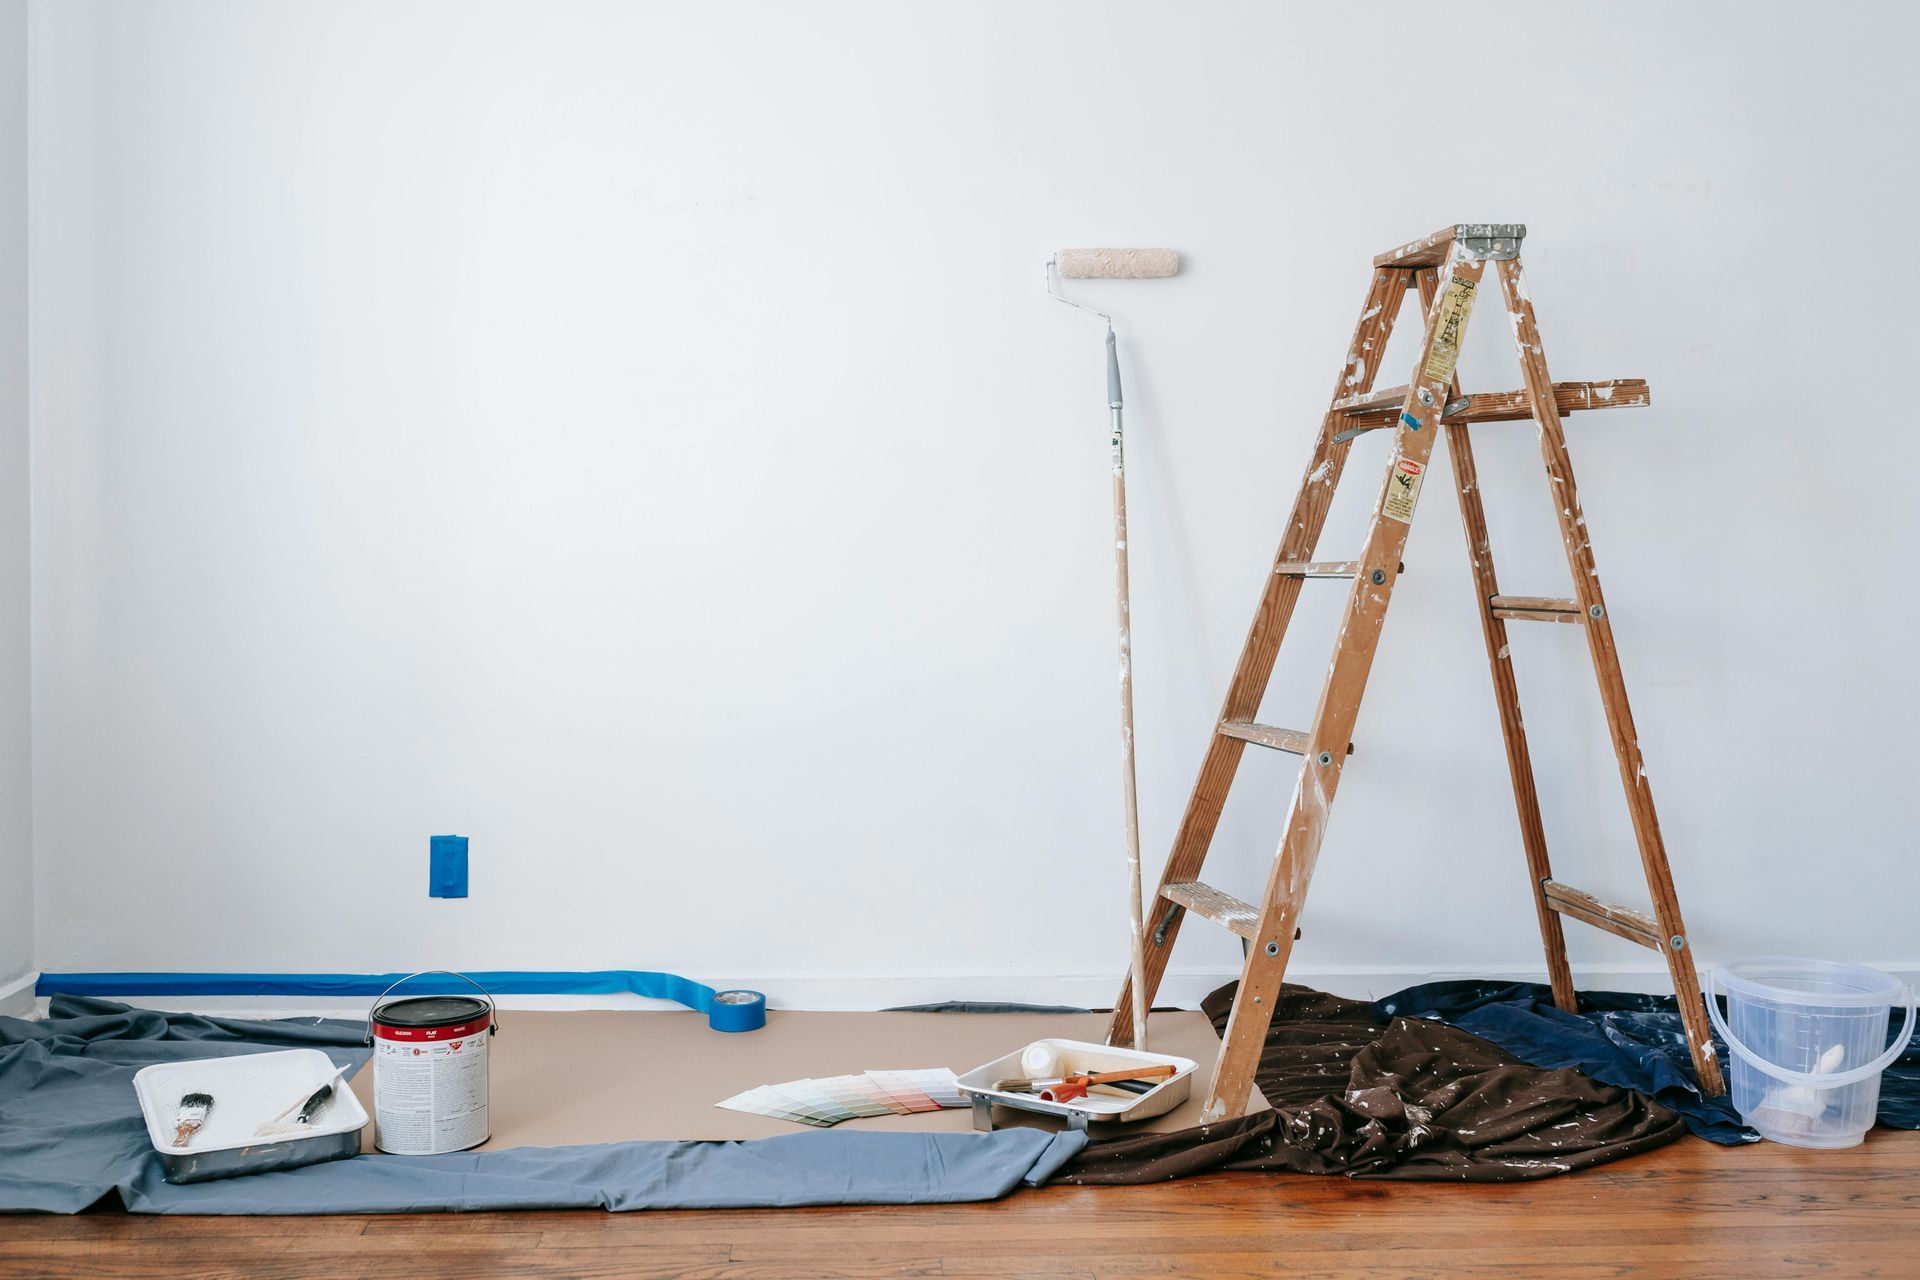
Before diving into the process of painting doors and windows, it's essential to gather all the necessary materials. Having the right tools on hand will make the job more manageable and help you achieve a professional finish. Here’s what you’ll need:
High-quality paint (suitable for doors and house windows)- Primer (if painting bare wood or metal)
- Sandpaper (120- to 220-grit)
- Painter’s tape
- Drop cloths or plastic sheeting
- Paintbrushes and rollers (variety of sizes)
- Screwdriver (to remove hardware)
- Clean cloths or rags
- Wood filler (if needed)
Step 2: Prepare the Surface
Proper preparation is key to achieving a flawless finish when painting doors and windows. Begin by removing any hardware, such as handles, locks, and hinges, from your doors. For windows, remove any blinds, curtains, or hardware that might get in the way. Lay down drop cloths or plastic sheeting to protect your floors from paint splatters.
Next, use sandpaper to gently sand the surfaces of the doors and windows. This step removes any existing paint, dirt, or grime and creates a smooth surface for the new paint to adhere to. Pay special attention to any imperfections, such as scratches or dents, and fill them with wood filler if needed. Once you've sanded and filled in any gaps, wipe down the surfaces with a clean cloth to remove dust.
Step 3: Apply Primer
Priming is an essential step in the painting process, especially when dealing with bare wood, metal, or previously painted surfaces. A high-quality primer ensures better paint adhesion and helps prevent peeling and chipping. If you're painting house windows or doors for inside, choose a primer suitable for the surface material. Apply a thin, even coat of primer using a brush or roller, making sure to cover all surfaces evenly. Allow the primer to dry completely before moving on to the next step.
Step 4: Choose the Right Paint and Color
Selecting the right paint and color is crucial for achieving a long-lasting and beautiful finish. For exterior doors and windows, opt for a paint that is weather-resistant and designed to withstand the elements. For interior doors, consider a durable paint that can handle frequent use and cleaning.
When choosing colors for painting doors and windows, think about the overall style and color scheme of your home. Neutral colors like white, gray, or beige are classic choices that complement most interiors. However, if you’re looking to make a bold statement, consider vibrant hues like deep blue, rich green, or even a pop of red for your front door. Remember that lighter colors can make a small space feel larger, while darker shades can add warmth and sophistication.
Step 5: Start Painting
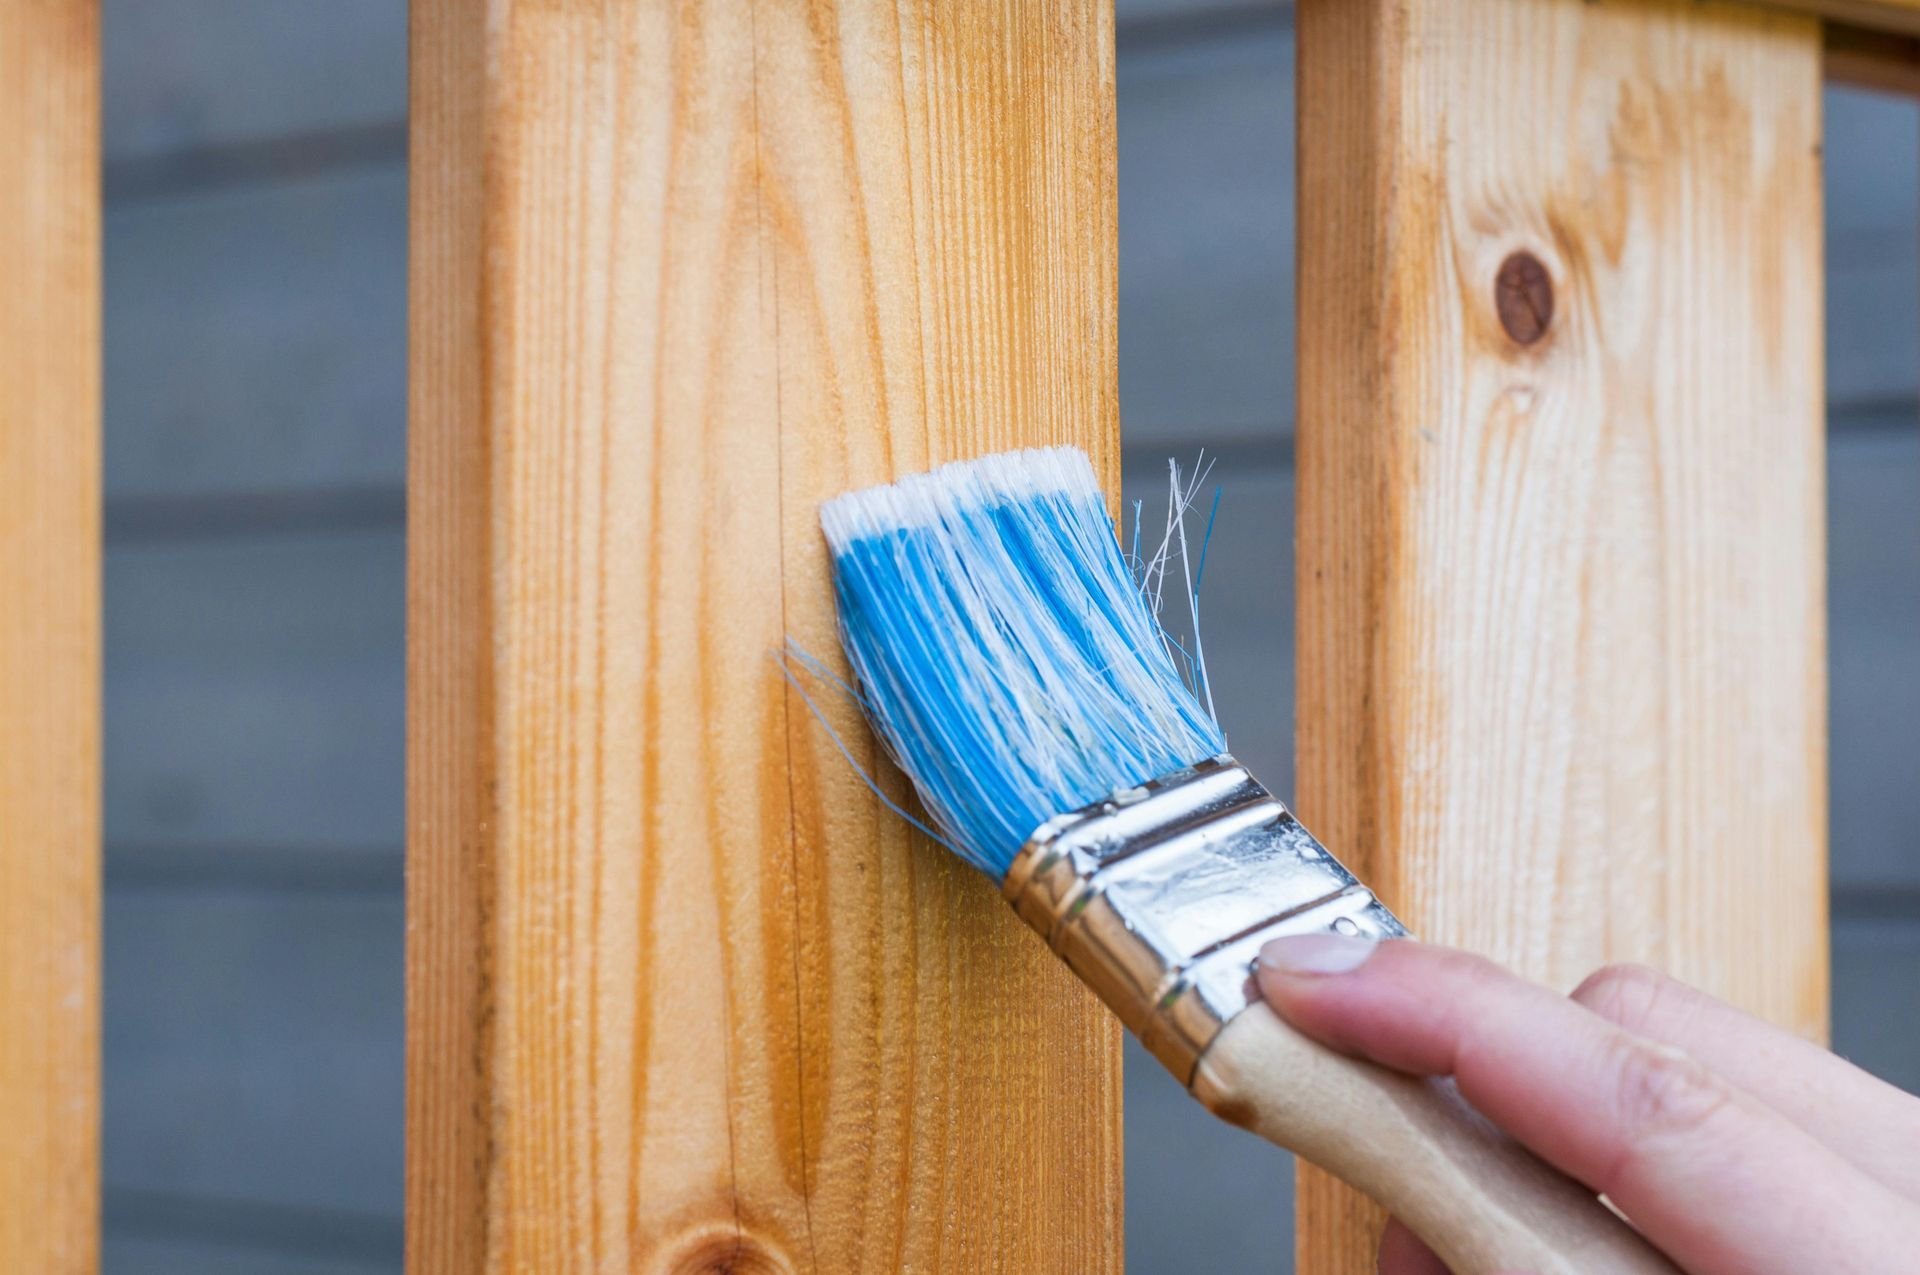
With your primer dry and your paint color chosen, it’s time to start painting! For the best results, use a high-quality brush for detailed areas, such as window trim and door edges, and a roller for larger, flat surfaces. When painting doors, start with the edges and work your way to the flat surfaces. For window painting, begin with the muntins (the bars that separate the glass panes) before moving on to the larger frame.
Apply the paint in thin, even coats, allowing each coat to dry completely before applying the next. This approach helps prevent drips and ensures a smooth, professional finish. Most doors and windows will require at least two coats of paint for complete coverage, but this can vary depending on the color and type of paint used.
Step 6: Inspect and Touch Up
Once you’ve finished painting, carefully inspect your work for any drips, smudges, or missed spots. Use a fine brush to touch up any imperfections and ensure a flawless finish. Pay special attention to the corners and edges of doors and windows, as these areas are often prone to uneven coverage.
Step 7: Reassemble and Enjoy Your New Look
After the paint has fully dried, it’s time to reattach the hardware and reassemble your doors and windows. Make sure the paint is completely dry to the touch before handling to avoid smudges or fingerprints. Once everything is back in place, step back and admire your handiwork! You’ve just completed the process of painting doors and windows like a pro, giving your home a fresh, updated look.
Step 8: Enhance Your Curb Appeal
Painting your doors and windows is not just about improving the aesthetics of your home’s interior. A fresh coat of paint on your exterior doors and house windows can significantly enhance your home's curb appeal. The front door, in particular, is a focal point for visitors and passersby. A vibrant color can make a bold statement, while a classic, subdued hue can exude elegance and timelessness. When you choose the right colors and finishes for painting doors and windows, you create a welcoming ambiance that reflects your personal style and complements the architecture of your home.
Bonus Tips for Success
Choose the Right Season: If you're painting exterior doors and windows, choose a time of year with mild temperatures and low humidity for the best results. Extreme weather conditions can affect the drying process and the paint's adhesion.
Hire Professionals for Complex Projects: If you're not confident in your painting skills or have large or complex doors and windows, consider
hiring professional door painting services. Experts can ensure a high-quality finish and save you time and effort.
Maintenance Matters: To keep your newly painted doors and windows looking great for years to come, regularly clean them and address any chips or scratches promptly. Regular maintenance will help preserve the paint's integrity and extend the life of your new finish.
Why Consider Professional Door Painting Services?
While DIY projects can be rewarding, there are situations where hiring professional door painting services is the better option. Professionals bring expertise and experience, ensuring that the paint job is done correctly and efficiently. They have access to high-quality paints and tools, which can make a significant difference in the longevity and appearance of the finished product. Additionally, professionals know how to handle tricky spots like window mullions, door panels, and tight corners, achieving a finish that looks seamless and refined.
Conclusion
Painting doors and windows is a rewarding DIY project that can significantly impact your home’s appearance. By following this step-by-step guide and using the right materials and techniques, you can achieve a professional-looking finish that enhances both the interior and exterior of your home. Whether you’re revamping house windows or refreshing doors for inside, the key is in the preparation and attention to detail. So, roll up your sleeves, grab your paintbrush, and start transforming your space today!
By mastering the art of painting doors and windows, you not only improve the aesthetic appeal of your home but also protect these essential features from wear and tear, ensuring they remain beautiful and functional for years to come. Whether you’re going the DIY route or hiring door painting services, the effort you put into this project will result in a stunning, refreshed look that you’ll enjoy every day. So, get started on your painting journey and let your doors and windows become the new highlights of your home!


